How to Make a Zombie Love Story With Your Partner
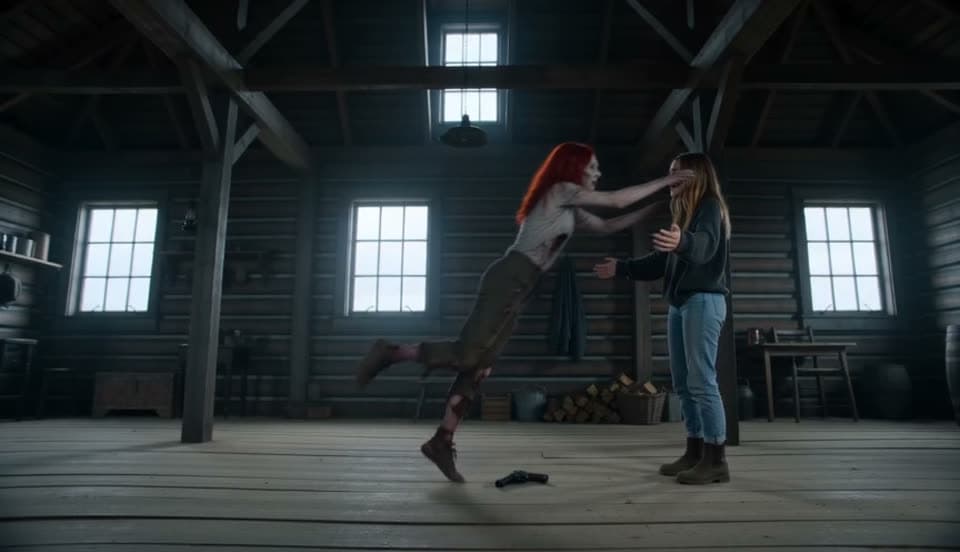
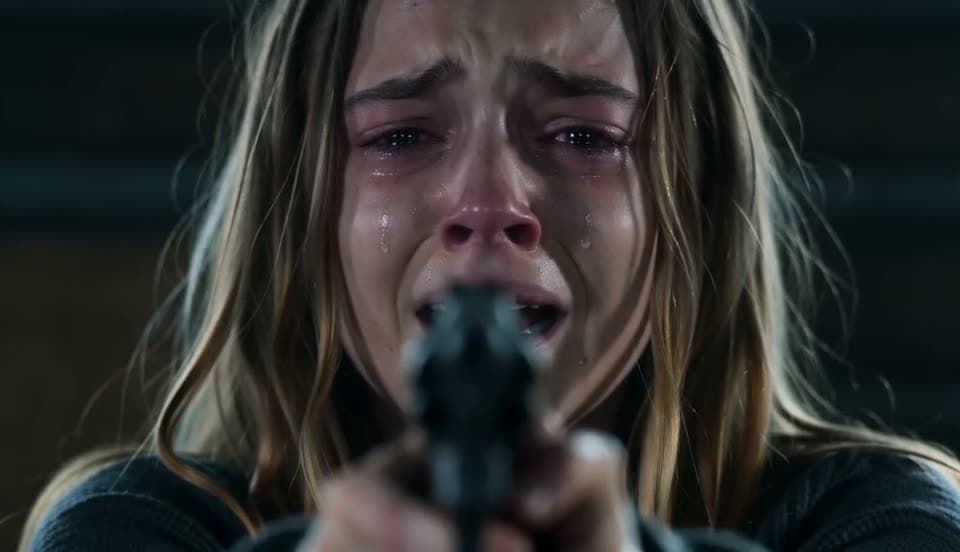
Choose your zombie and survivor, prepare two portraits, and review the reunion in your own 15-second zombie love story.
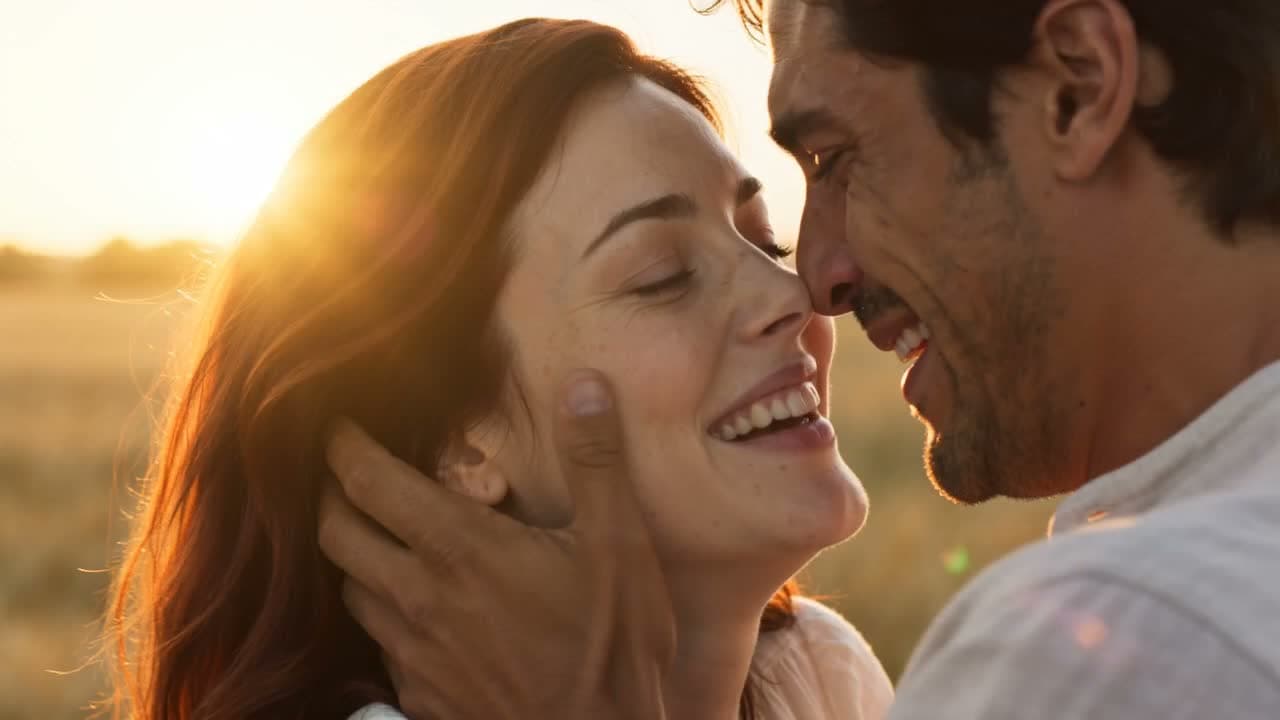
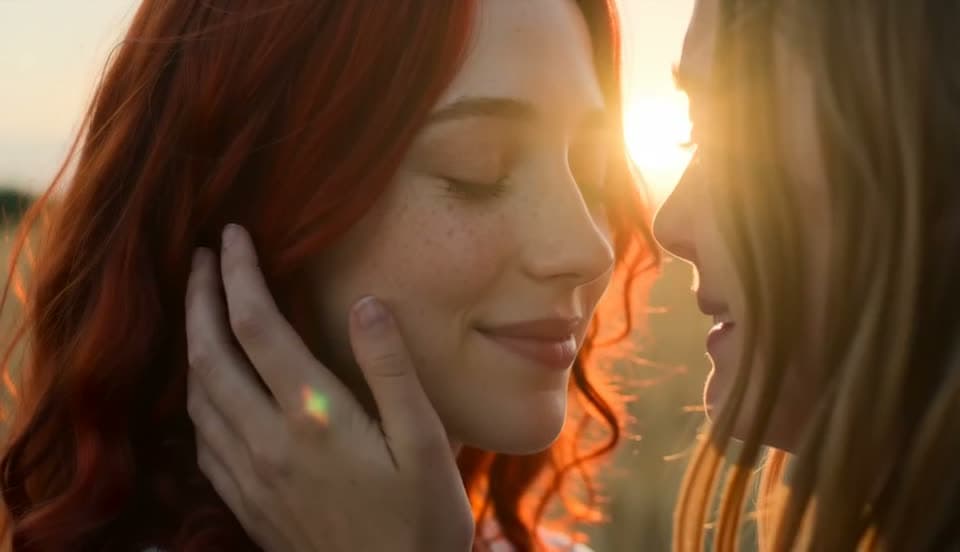
A zombie love story begins with recognition: the survivor sees someone they love beneath the changed face. The rush toward them then cuts to an earlier, happy moment. Two separate portraits give the story its cast; you do not need a staged couple photograph or acting experience.
Make a love story →1. Decide who survives and who turns
Choose the roles together before uploading. Zombie is the person who has turned; Survivor is the person who remains human and recognizes them. Either partner can take either role. In Couple mode you can swap the roles, so check the labels beneath the photos rather than relying on gender or left-to-right order.
The story is fictional. Both people should be consenting adults, and permission to appear is separate from permission to use the photograph. Use images you own or are allowed to upload.
2. Give each character a clear portrait
Use one person per image, with the entire face and hair visible. Even daylight is more useful than a dramatic shadow across the face. Avoid sunglasses, beauty filters, masks and tiny faces cropped from a distant group photo. The two backgrounds and outfits do not need to match.
Upload JPG, PNG or WebP files up to 10 MB each, with a shortest edge of at least 512 pixels. Clear source photos give the model useful identity detail, but they cannot guarantee an exact likeness in every frame.
- Check that you have two different portraits in the intended roles.
- Prefer recent photos with a familiar hairstyle and visible facial features.
- Keep both originals available if you want to try another version.
3. Choose a setting that fits your memory
zombielove offers a snowy cabin, a rainy city, a ruined chapel, an abandoned supermarket and a bedroom. The setting changes the cold encounter and its warm counterpart. A bedroom story is intended to end with a quiet, affectionate memory on the bed; it does not use the wheat-field ending shown in the external reference.
Choose 16:9 for a wide film or 9:16 for a vertical post. Standard is 480p and HD is 720p; both target a 15-second MP4 with music. Review the current credit costs on Pricing before starting. A higher resolution does not guarantee better identity or motion.
4. Generate, then watch the whole story
Confirm the photo permission declaration, sign in with Google or an email code, and use paid credits to submit. Generation runs in the background. The interface shows the actual stage, and you can return to My videos with the same account after closing the tab.
Watch for the correct pair throughout the film, a survivor who stays human, and a warm memory that feels connected to the approach. Listen to the soundtrack before sharing. Facial likeness, small movements and cuts may vary; another render is a new paid story, not a frame-for-frame edit.
5. Download the version you want to keep
Download the completed MP4 from My videos during its 30-day video retention period. Completed-story photos remain available for regeneration unless their resources are deleted; photos removed under an earlier retention rule cannot be restored.
A task that finally fails releases its reserved credits. That is different from a cash refund, and a successful render with an artistic detail you dislike is not automatically a failed task. Read the Terms or contact support if something goes wrong.